Design Guide, Design Trends, How To
How To Make A WordPress Blog Locally On Windows PC – Beginners Tutorial
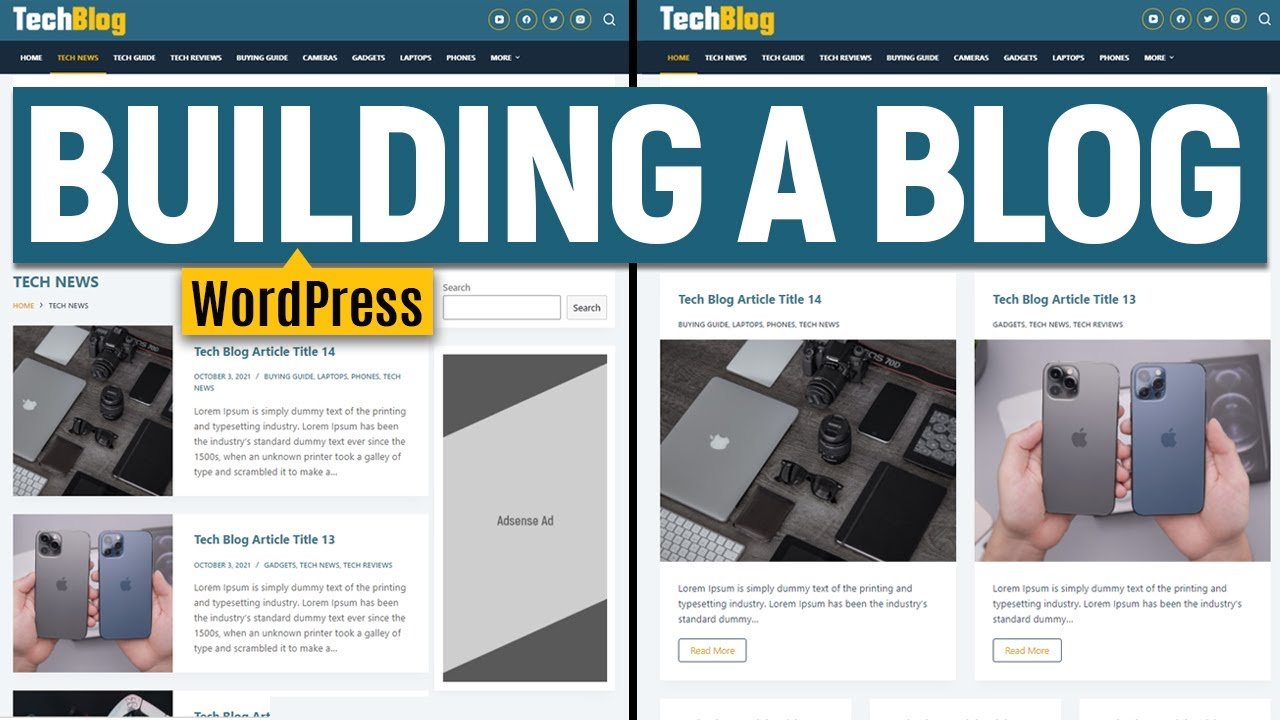
In this article we are going to take a look on how to build a WordPress Blog step by step on Localhost. You will learn how to download and install WordPress locally on your PC and then build a your own blog.
Before we dive deep into the tutorial, we have this WordPress Blog ready for download. You can go ahead and support us by download the complete blog site from the link below. Within the zip file you will find WordPress blog files, the database file and a text file containing the admin username and password.
DownloadThat being said, we took time to create a step by step video tutorial on how to build a WordPress blog locally on your PC. All you need to do is to follow this tutorial keenly paying close attention to different stages as you create your own WordPress blog. Use the provide timestamp to jump to different sections of the tutorial.
In this tutorial, we used some of the best free WordPress blog theme and plugins so that you don’t have to spend a penny when creating a WordPress blog locally on your PC.
How To Build A WordPress Blog Locally On Your PC
Steps Covered/Timestamp
- 00:00:13 A closer look at what we’re creating.
- 00:03:45 WampServer Installation https://youtu.be/WfmCadUPFs0
- 00:05:46 Installing WordPress & Basic setup.
- 00:12:40 Installing the Blocksy Theme.
- 00:15:11 Adding Categories for our Posts.
- 00:16:51 Adding WordPress Posts.
- 00:24:03 Working on the Header (Logo/Main Menu Items/Share Buttons/Search Bar).
- 00:44:46 Working on the Footer (Share Buttons/Footer Menu Items).
- 00:52:49 Working on the Home Page Blog Post Layout.
- 01:01:20 Working on the Menu/Category Posts Layout.
- 01:06:25 Working on Single Posts Layout.
- 01:12:52 Working on the Sidebar.
- 01:18:01 Adding a Contact Us Page.
- 01:21:32 Adding the Top/Side Banner Ads.
- 01:30:09 Saving the Blog Files and the Database Ready to go Live.

